
If you have seen any Robocup game, you will have notice that in some of them the ball is a special one like this.
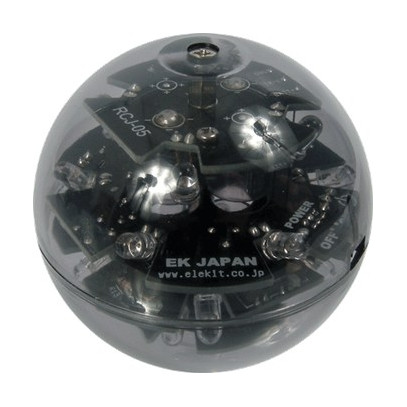
The above ball is a HiTechnic Infrared Electronic Ball. It has 20 LEDS to cover the whole surface of the ball and several operating modes. It has 75mm in diameter and uses 4 AAA batteries. Cool? Right but it costs around 100€ and it is hard to find at best… so… here is Miguel at the rescue.
How To Create your own IR Ball for free
If you are reading this, chances are that you already own a LEGO Mindstorms Set. If you have the LEGO EV3 Home version, you will recall that it includes a IR Sensor and a IR remote, that has four buttons and a big one over the others. That button turns your IR Remote into a beacon that can be tracked with the IR sensor… much like I did on this.
But we need a ball like the one from RoboCup, so my idea was as this…
So what did I do?
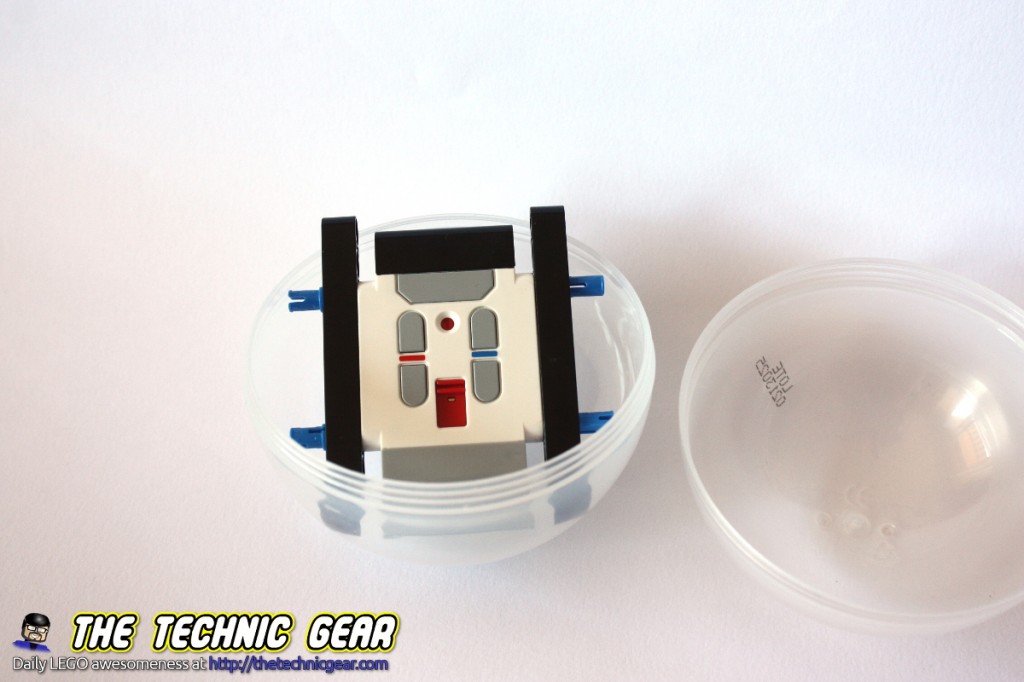
First, get your remote, two 7L beams and four 3L pegs. Attach them like this.

Now go out and spend 1€ in a machine like this.
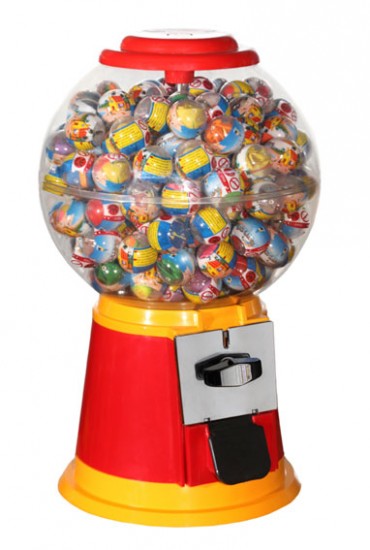
In Spain they are literally everywhere. It is always a good excuse to go the the bar and have a beer. You may be lucky and get one with both sides transparent, if you aren’t, just get another one. So now, open the ball, remove the little toy inside and place your IR Beacon… close it… and done! Your own poor man’s IR Ball!
Now it is time for building a RoboCup Jr player using this little fella!